Feeling overwhelmed by the Amazon FBA shipping process? You’re not alone. Mastering how to ship to Amazon FBA is crucial for success for Amazon sellers who choose the FBA route, impacting everything from customer satisfaction to avoiding fulfillment nightmares like out-of-stocks and unnecessary storage fees.
As a seller, getting your products into customers’ hands with Amazon’s signature efficiency begins with perfecting the FBA shipping process. It’s the foundation for efficient fulfillment, compliance, and customer satisfaction. With efficient FBA shipping processes, you can dramatically increase operational bandwidth, ensure reliable delivery timelines, and drive sales growth through superior logistics and customer satisfaction. However, improperly shipped inventory can lead to delayed product availability, lost sales, negative metrics, and potential account suspensions.
In this guide, we’ll discuss how to start shipping to Amazon FBA like a pro. When performed correctly, a smooth shipping process can save time and money and avoid the headaches sellers frequently encounter when figuring out how to send product to Amazon FBA.
Step 1: Understand Amazon FBA Shipping Requirements
Before we get ahead of ourselves with the steps on how to send items to Amazon FBA warehouses, we must first understand the unique requirements.
Amazon has strict requirements for products being shipped to its FBA fulfillment centers. It can be easy to forget while in the process, but it’s important to remember that Amazon operates a massive fulfillment network with sophisticated processes across multiple categories. Meeting these requirements is crucial to receiving and making your inventory available for sale as quickly as possible. Failure to adhere to Amazon’s specific shipping and inventory requirements is one of the biggest reasons sellers struggle with FBA.
Much groundwork must be done before your products can enjoy Amazon’s fast shipping. For Amazon’s fulfillment centers to ship products to customers at industry-leading times, making their marketplace the overwhelmingly preferred choice among consumers, there are strict packing and shipping guidelines for businesses to ensure their online business aligns with Amazon’s logistical network.
Amazon’s large-scale operation necessitates strict guidelines on receiving, inspecting, storing, and distributing inventory from fulfillment centers. Even minor errors in shipment packaging or failure to meet FBA labeling requirements can prevent products from being accepted and result in costly delays or additional fees. Following all FBA requirements ensures your inventory moves through Amazon’s supply chain smoothly, giving sellers and customers a frictionless experience.
Step 2: Know The Amazon FBA Packaging and Prep Guidelines
Amazon has specific guidelines for packaging materials, packaging methods, and different product prep requirements. Adhering to these guidelines is crucial to avoid damaged inventory or shipment rejections.
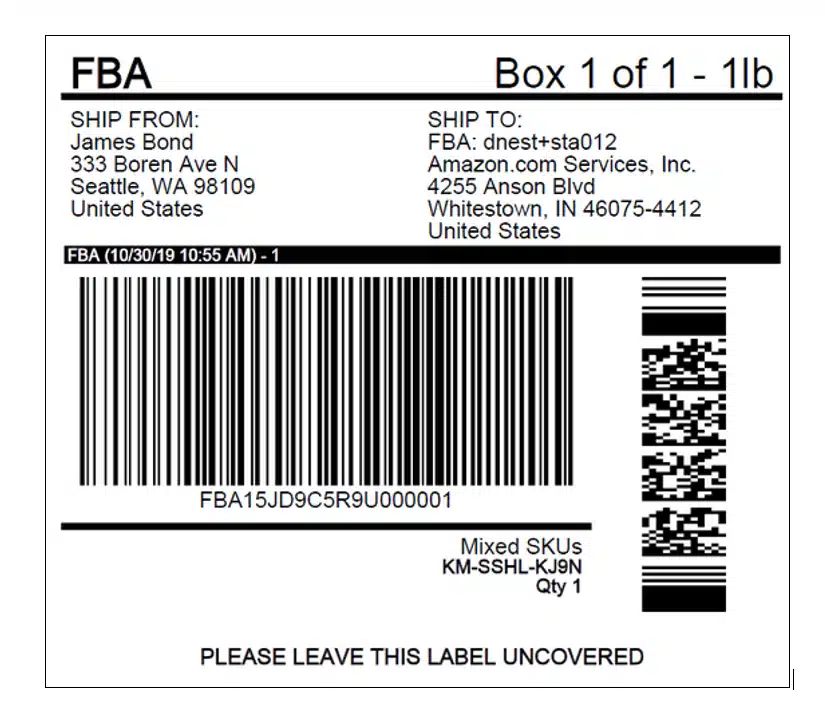
If you choose FBA, follow Amazon’s official fulfillment guidelines for preparing products for warehousing. By following these guidelines and meeting all Amazon FBA shipping requirements, you’ll protect your products and maintain good standing with Amazon, ensuring a smooth selling experience on the platform. Chief among these requirements is labeling your shipment with the proper barcodes when shipping to Amazon FBA.
Know Your Labels

When shipping to Amazon FBA, proper barcoding is crucial for identifying products and tracking them during the fulfillment process. The barcodes help Amazon locate, pack, and ship products as soon as possible and ensure sellers get proper credit for each sale earned.
Every item shipped to an FBA facility must have a scannable barcode label. Amazon utilizes two types of barcodes for inventory management: Manufacturer’s barcodes and Amazon barcodes, known as FNSKUs (Fulfillment Network Stock Keeping Units). For more on these barcodes, please check out our blog post covering FNSKUs.
- Manufacturer’s Barcodes: By default, Amazon relies on the manufacturer’s barcodes, such as UPCs (Universal Product Codes), unless you opt to use Amazon’s barcodes. When multiple sellers offer the same product using the same manufacturer’s barcode, Amazon may fulfill orders using the inventory closest to the customer’s location. Using Amazon’s FNSKU barcodes is recommended for arbitrage or wholesale resellers who prefer to keep their inventory separate from other sellers.
- FNSKUs: FNSKU barcodes must be applied to all products that do not utilize the manufacturer’s barcode. You can either print and label the barcodes yourself during the FBA shipment creation process, have your supplier print the barcodes on the product packaging, or request Amazon to label your products for a fee of $0.55 per item.
If your product lacks a manufacturer’s barcode, you can apply for a GTIN (Global Trade Item Number) Exemption in Seller Central, and Amazon will assign FNSKU barcodes to all your products.
Step 3: How to Create Labels For Your Amazon FBA Products
Now that you know the barcode requirements, here’s a step-by-step guide to creating and labeling your products according to Amazon’s standards:
1. Generate FNSKU Labels:
- Log in to Seller Central and navigate to the “Inventory” tab.
- Select “Manage FBA Shipments.”
- Find the items you’re preparing to ship on the “Manage FBA Shipments” page and check the box next to each applicable item.
- Click the “Actions” menu and choose “Print Item Labels” to generate unique FNSKUs for selected products.
2. Download and Print Your Labels:
- Your FNSKU labels should appear in a new window. You can choose to download them as a PDF or print them directly.
- For optimal durability, we recommend using a thermal label printer. If you use a standard inkjet printer, be extra cautious and attentive to ensure quality, as they can be prone to smudging or peeling off during transportation.
3. Apply FNSKU Labels to Your Products:
- Clearly display each product’s FNSKU label on a smooth, clean surface. Ideally, the label should be placed on the product itself, not the packaging (unless it is the product itself).
- For larger items, you can place the FNSKU label on the side. For smaller items, the bottom is a good option. Avoid placing the label on curves, edges, or seams, as this can make it difficult for Amazon to scan.
4. Label Your Outer Boxes (if applicable):
- If you’ve chosen case-pack your shipment (multiple units per box), you’ll also need to label the exterior of each master carton with a clearly visible FNSKU label.
- For easy identification, include an additional label on the exterior box with the shipment ID (found in your shipping plan).
Please refer to Amazon Seller University’s video on the topic or their help guide with additional instructions for speciality items.
Step 4: How to Create a Shipping Plan in Seller Central
Once you’ve signed into Seller Central, hover over the Inventory tab and select the Manage All Inventory tab on the dropdown menu. If you have not created your first product listing for the product you want to create a shipment plan for, you’ll need to do that first for the product to appear in your Amazon shipping portal.
1. Select Send/Replenish Inventory: Whether this is your first shipment or your fifteenth, you’ll want to click the dropdown menu with “Edit” for the item you want to create a shipping plan for and select Send/Replenish Inventory. This will direct you to the Send to Amazon shipment creation workflow.

2. Update the “Ship From” field: Input the address from which your shipment will be collected for delivery to Amazon’s fulfillment center. Ensure the address is accurate and confirmed by your supplier or freight forwarder to avoid shipping delays. If you want to know how to send products to Amazon FBA from Alibaba or any other supplier, you can input the manufacturer’s details and contact information to ship directly from the manufacturer to Amazon.
3. Set marketplace destination and fulfillment capability: For most sellers, you’ll want to select the marketplace destination as the United States and the Fulfillment capability as Standard Fulfillment by Amazon. If you’re selling on additional marketplaces or using a more advanced fulfillment method, select the applicable options for each.
4. Create a Packing Template: Under the Packing Details, select “Create new packing template” and fill out a packing template name, template type, units per box, box dimensions, and box weight. If you’re unsure of any of these details, check with your manufacturer to verify the info. Once set up, you can choose the template again to save time on future shipments.
Choose Your Shipment Packing Type
When shipping your products to Amazon FBA, one of the decisions you’ll need to make is how to pack your shipments. There are primarily two options: individual and case-packed shipments. Each method has its own advantages and considerations, and selecting the right one can significantly impact your shipping process and overall costs.
Individual Shipments: Individual shipments involve sending each unit of your product to Amazon individually. This method works well for products that vary significantly in size, weight, or other dimensions. It allows for more flexibility in managing your inventory and can be particularly advantageous if you have a diverse range of products.
Case-Packed Shipments: Case-packed shipments, on the other hand, involve packing multiple units of the same product into a single box or case. This method is ideal for products that are uniform in size, weight, and other characteristics. It streamlines the receiving process at Amazon’s fulfillment centers and can lead to faster processing times and potentially lower fees.
When creating a packing template, you must choose between the two shipment packing types, so be sure to fill that section carefully when determining how to ship pallets to Amazon FBA.
Step 5: Preparing Your Inventory For Shipment To An Amazon Fulfillment Center
Whether you’re a seasoned seller or sending your first FBA shipments, proper preparation is a foundational part of success on the platform.
- Organize Your Inventory: The first step in preparing your inventory for shipment to Amazon FBA is to organize it effectively. This involves sorting your products by SKU, size, and weight to make the packing process more efficient. Additionally, it’s crucial to label each item with its corresponding SKU to avoid any confusion during the packing and shipping stages.
- Inspect Your Products: Before sending your products to Amazon, it’s essential to inspect them thoroughly for any defects or damage. This includes any missing parts, cosmetic imperfections, or damaged packaging. For more ideas on what to check for, skim through reviews of competitor products to pinpoint issues customers report. Identifying and addressing these issues early on will help prevent customer complaints and negative reviews.
- Create Shipment Plans: Before sending your inventory to Amazon, you must create a shipment plan through your seller account. This involves specifying the quantity and type of products you’ll be sending and selecting the Amazon fulfillment center where you’ll ship them. Once your shipment plans are created, Amazon will provide shipping labels and instructions for sending your inventory.
- Schedule Pickup or Drop-Off: Finally, once your shipments are labeled and ready to go, you can schedule a pickup with your chosen carrier or drop them off at a designated location. Amazon offers discounted shipping rates through their partner carriers, making sending your inventory to their fulfillment centers cost-effective and convenient.
Packaging Tips for FBA Shipments
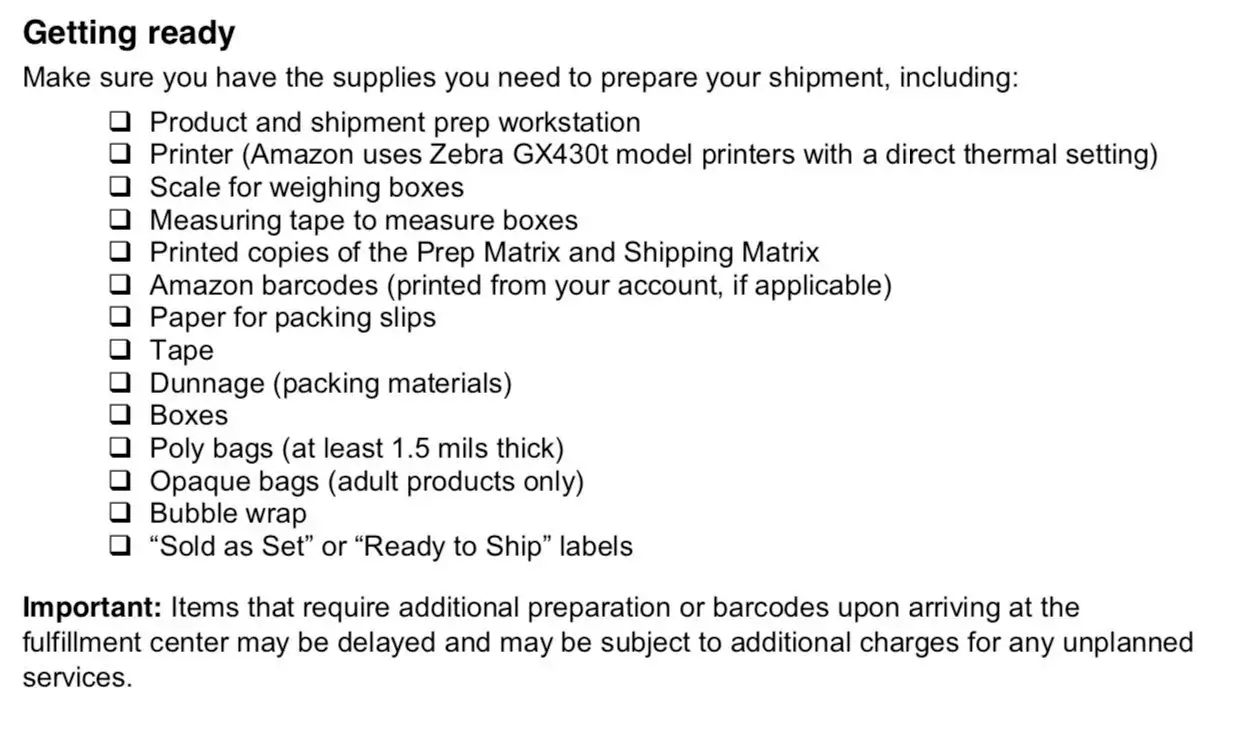
Ensuring your products are properly packaged is crucial for minimizing damage during transit and complying with Amazon’s strict requirements. Here are some tips to help you package your products effectively for FBA shipments:
- Use Sturdy Boxes: Choose sturdy, corrugated boxes that can withstand the rigors of shipping and handling. Avoid using damaged or reused boxes, as they may not adequately protect your products.
- Use Proper Packaging Materials: Use appropriate packaging materials such as bubble wrap, packing peanuts, or air pillows to cushion your products and prevent them from shifting during transit. Make sure to fill any empty spaces in the box to minimize movement and reduce the risk of damage.
- Secure Fragile Items: If you’re shipping fragile items, take extra care to protect them. Wrap each fragile item individually in bubble wrap and place them in the center of the box, away from the edges. Use additional padding around fragile items to provide added protection.
- Seal Boxes Properly: Use high-quality packing tape to seal your boxes securely. Make sure to seal all seams and edges of the box to prevent it from opening during transit. Avoid using too narrow or weak tape, as it may not provide sufficient reinforcement.
- Follow Amazon’s Packaging Guidelines: Familiarize yourself with Amazon’s packaging guidelines and requirements to ensure compliance. These guidelines may vary depending on the type of product you’re shipping, so be sure to review them carefully.
By following these packaging tips and guidelines, you can help ensure your products arrive in good condition at Amazon’s fulfillment centers. Proper packaging protects your products and enhances customer satisfaction, greatly reducing the likelihood of returns or negative feedback.
How to Select Your Shipping Carrier
Depending on your shipment’s size and which prep options you’re utilizing, there are a few paths to get products delivered to an Amazon fulfillment center.
Utilize Amazon Partnered Carriers
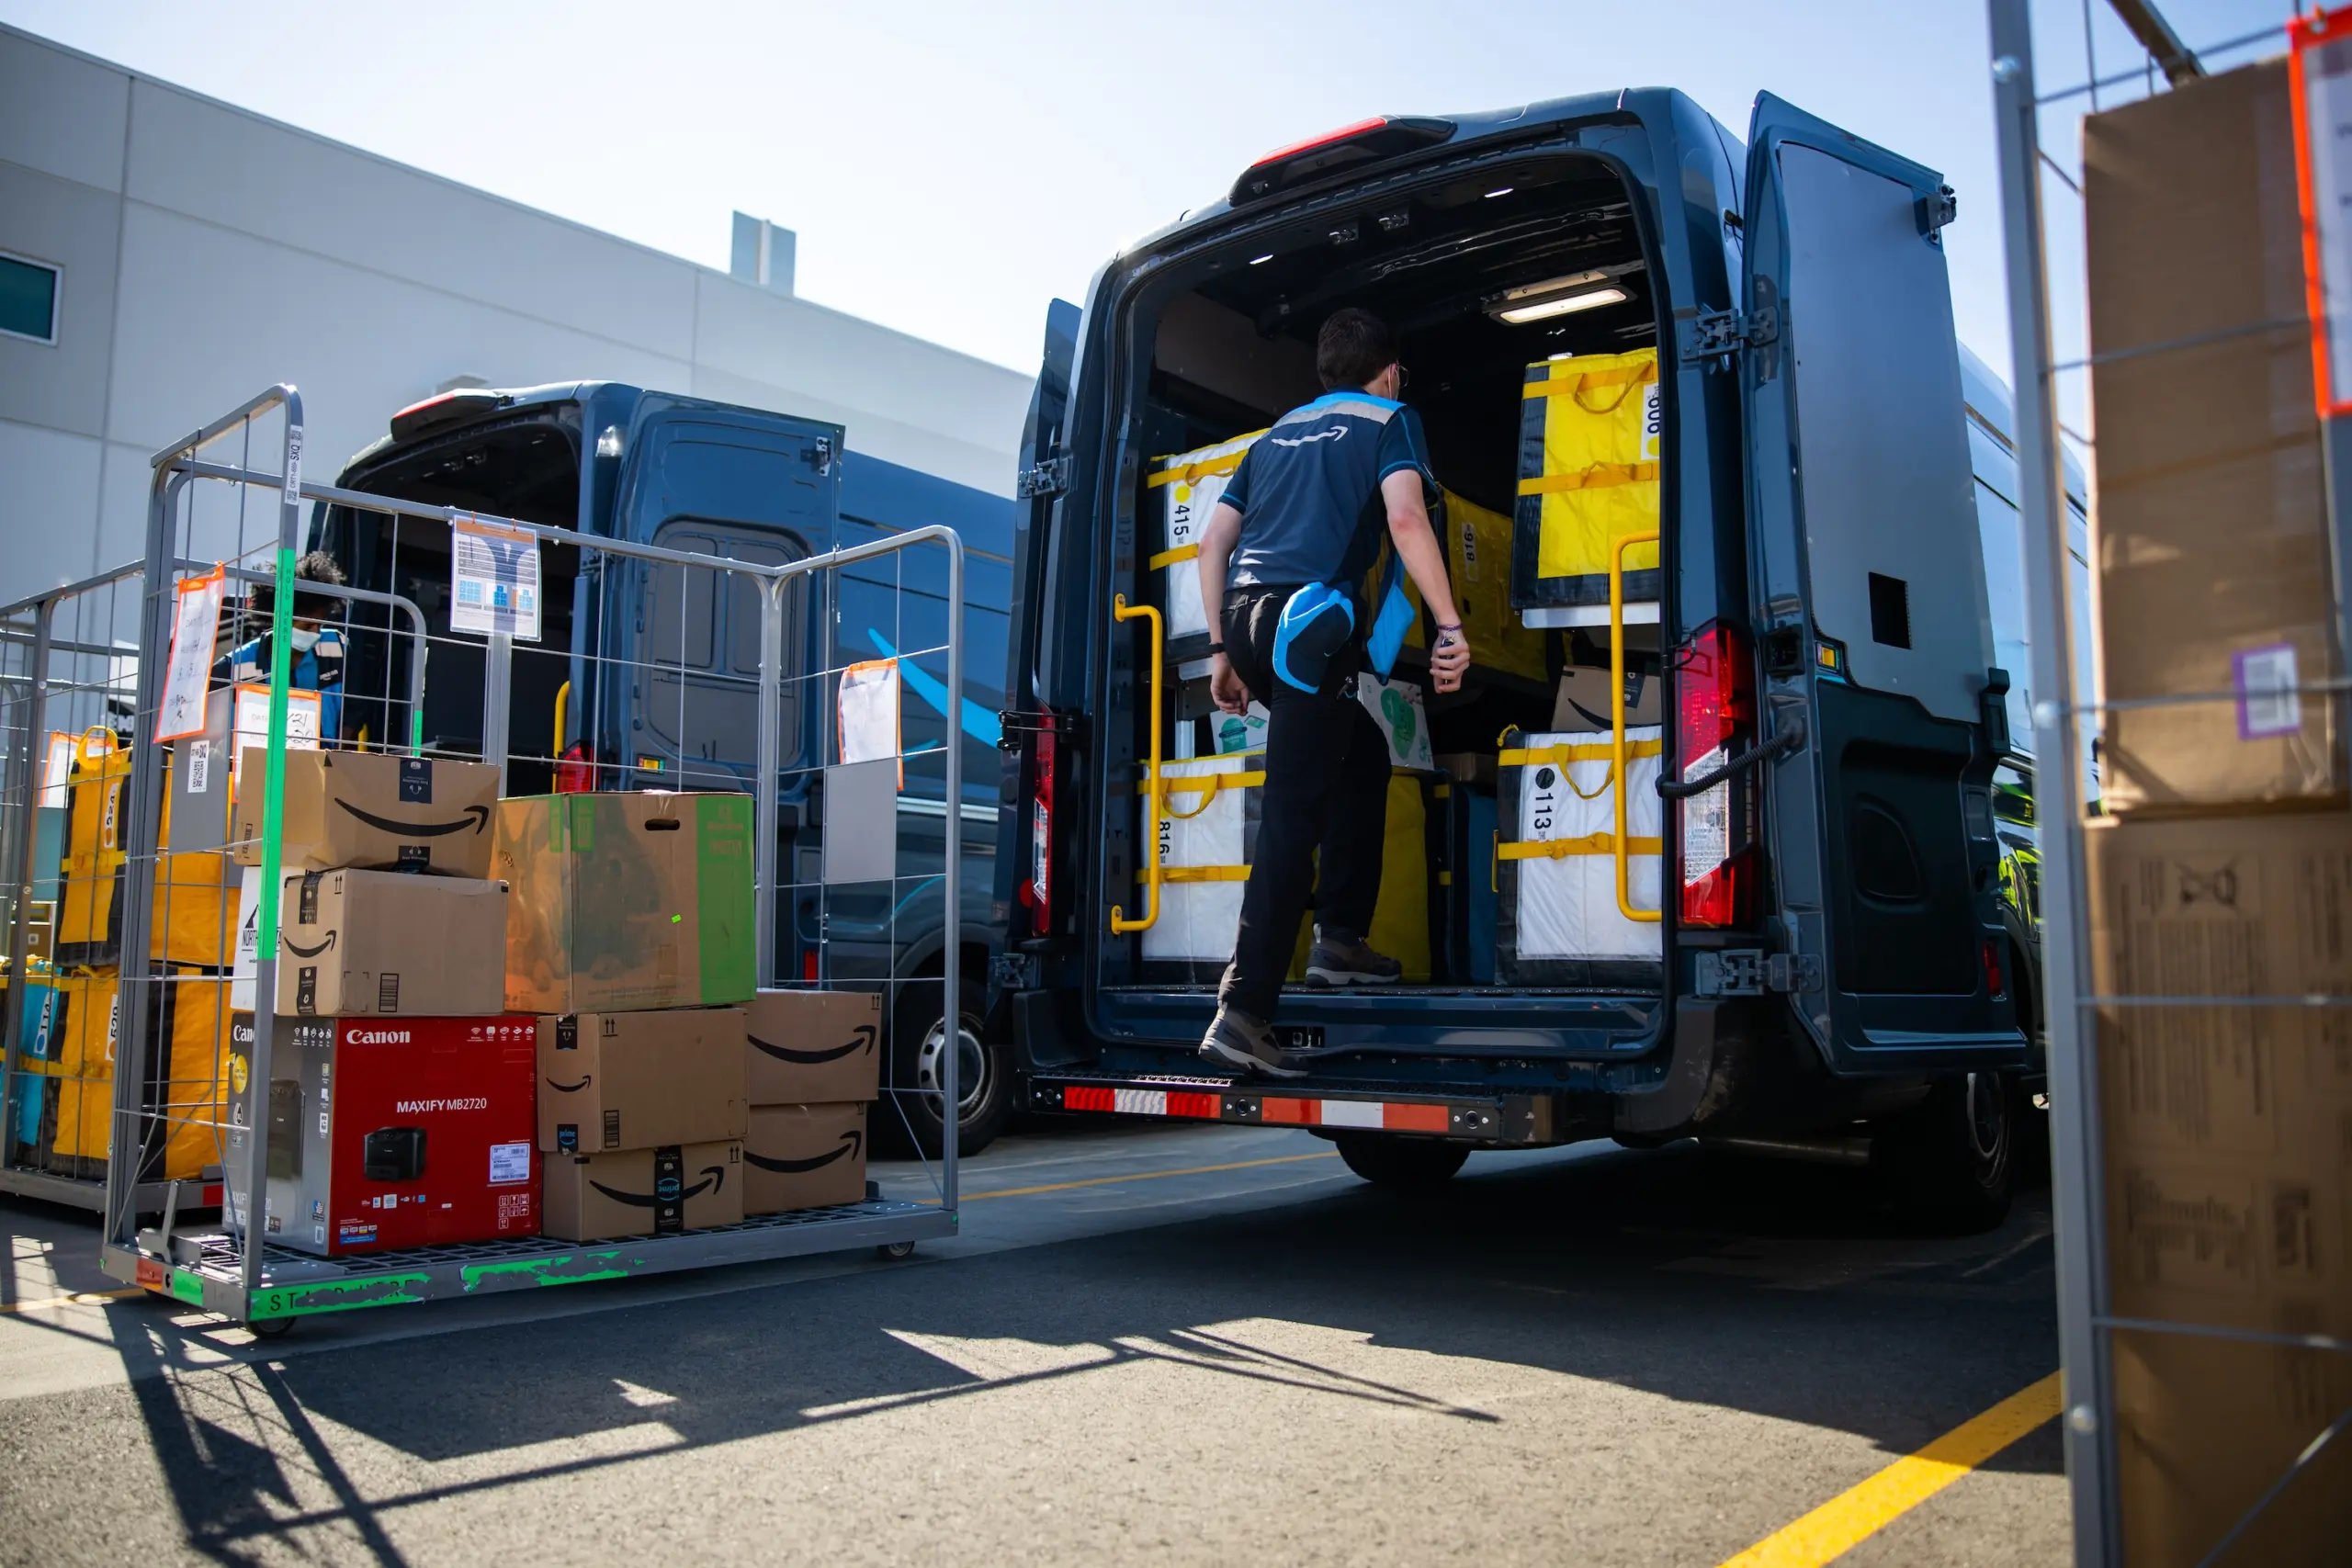
The Amazon Partnered Carrier program works with major carriers like UPS, FedEx, and USPS to offer streamlined shipping and delivery options for smaller shipments of standard-sized boxes or envelopes. These partnerships allow Amazon-shipped items to be transferred directly into the FBA inventory management stream without additional receiving steps, meaning less work for you!
Sellers can purchase and print shipping labels from Amazon while enjoying pre-negotiated rates and direct tracking integration with Seller Central. For many sellers, these partnered carrier workflows represent the most straightforward FBA shipping method.
Opt for Third-Party Carriers
As an Amazon seller, particularly for international sellers, choosing the right carrier is crucial for streamlining your logistics and ensuring seamless delivery. If you opt for a carrier not included in the Amazon Partnered Carrier program, be sure to consider factors such as the carrier’s reputation, transit times, handling procedures, and pricing structures when searching for your carrier. Compare the cost to ship to Amazon FBA and any included Amazon prep services across multiple carriers to find the best fit for your business needs. Additionally, explore carriers with experience dealing with Amazon and expertise in international shipping and customs clearance for a smoother cross-border experience.
Finally, once your shipments are labeled and ready, you can schedule a pickup with your chosen carrier or drop them off at a designated location. Amazon offers discounted shipping rates through their partner carriers, making sending your inventory to their fulfillment centers cost-effective and convenient.
Shipping Your Inventory to Amazon
Once you’ve prepared your products and selected a carrier, it’s time to wrap up the final steps of shipping items to Amazon FBA warehouses. Follow Amazon’s guidelines for properly labeling and packaging your shipments, ensuring they meet the required standards. Obtain the necessary shipping labels and documentation, and carefully box your products using sturdy materials to prevent damage during transit. When your shipment is ready, schedule a pickup or drop-off with your chosen carrier, providing them with the appropriate shipping details and FBA shipment tracking information.
Step 6: Finalize Your Shipment Details
Finalizing your shipment details is essential before your inventory departs for Amazon’s fulfillment centers. Start by creating a comprehensive checklist for yourself or referencing Amazon’s shipment checklist, ensuring you’ve covered all necessary steps, from properly labeling your products to obtaining the required documentation. In your Seller Central account, confirm your shipping method, review the shipment details, and double-check the accuracy of your inventory information. This step is crucial to avoid potential delays or complications upon arrival at Amazon’s facilities.

Step 7: Track and Monitor Your Shipments
Congratulations! You’ve learned the FBA shipping requirements and how to ship inventory to Amazon, and you have successfully sent your products to an Amazon FBA warehouse. Job’s done, right? Not so fast!
While the hard part’s over with, a tiny bit of work remains. The last step entails FBA shipment tracking and communication if your products arrive before or ahead of schedule.
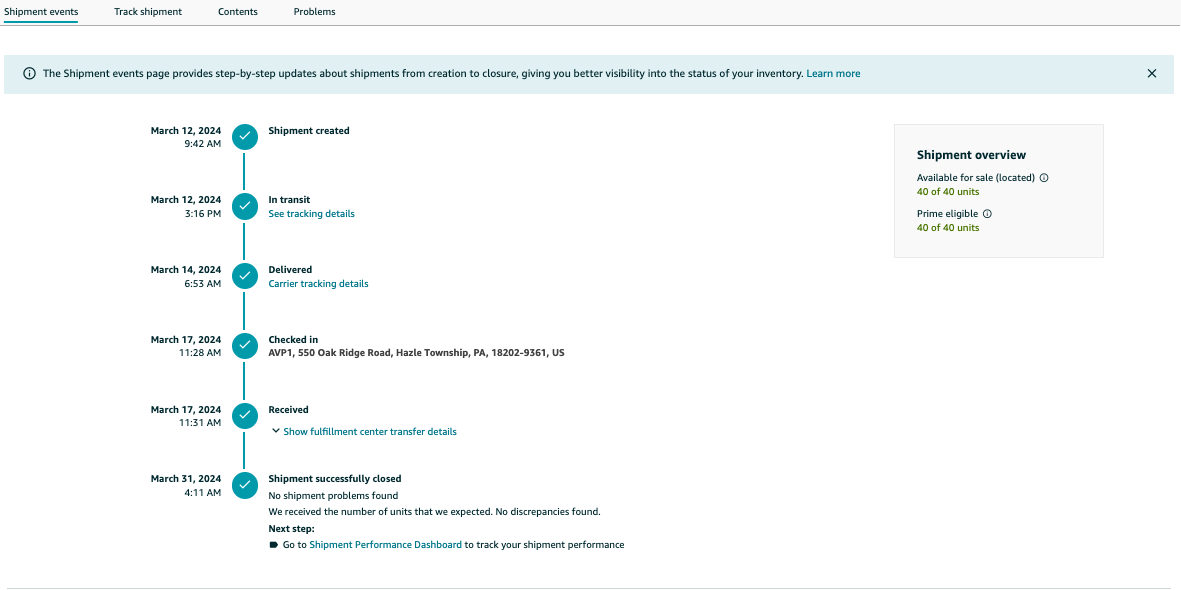
Utilize the tracking numbers provided by your carrier to monitor the shipment’s journey, ensuring it remains on schedule. In the event of unforeseen delays or issues, contact the carrier for assistance immediately and keep Amazon informed of any potential disruptions to avoid complications. Proactive communication can help mitigate potential problems in completing and receiving the shipment and ensure a smooth transition of your inventory into Amazon’s fulfillment network.

Tips to Manage Your Inventory
Although often overlooked, managing your inventory efficiently can be a bedrock for your business’s success on Amazon.
Monitor Inventory Levels and Performance
One of the key aspects of managing your inventory is to keep a close eye on inventory levels and performance. Amazon provides several tools to help you monitor your inventory effectively:
- Inventory Dashboard: Use Seller Central’s Inventory Dashboard to get an overview of your inventory levels, sales performance, and restock recommendations.
- Sales Velocity Analysis: Analyze your sales velocity to determine which products are selling quickly and which ones may need additional promotion or pricing adjustments.
- Inventory Health Report: Regularly review the Inventory Health Report to identify slow-moving or stagnant inventory that may require additional marketing efforts or discounts to sell through.
Being proactive about stock levels ensures enough buffer to process new inbound shipments without suffering stock-outs. Inventory management capabilities also allow optimizing pricing, promotions, and advertising for maximum sales velocity. By leveraging these tools, you can stay informed about your inventory’s performance and make data-driven decisions to optimize your selling strategy.
Optimize Inventory Levels for Cost and Efficiency
Optimizing your inventory levels is critical to reducing costs, avoiding long-term storage fees, and improving sales performance. Here are some tips to help you manage your FBA inventory effectively:

- Leverage the data: Our Market Intelligence software and its accompanying Chrome extension deliver the most accurate sales estimates available. This invaluable data is based on a mix of real Amazon data and machine learning to forecast when sales might increase or decrease based on trends or seasonality so you can stay prepared all year long.
- Check Amazon’s Inventory Performance Index (IPI): Amazon’s proprietary IPI in Seller Central automatically monitors your inventory health based on key factors so you can see where you’re crushing it and where there’s opportunity for improvement. IPI health also influences other factors, such as Amazon FBA storage limits.
- Analyze your sales data: Review your sales data weekly and year over year to determine which products are selling well and which are not. This information will help you make informed decisions about restocking and liquidating slow-moving inventory.
- Do the math: Use our FBA calculator to estimate your costs and identify opportunities to reduce fees. For example, you can reduce your long-term storage fees by removing slow-moving inventory before it incurs fees. By following these tips, you can manage your FBA inventory effectively, reduce costs, and improve sales performance.
By following these tips, Amazon FBA sellers can manage their inventory more efficiently, reduce unnecessary costs, and ultimately improve their overall sales performance, making this advice worthwhile and important for their business success.
Final Thoughts on Shipping to Amazon FBA

In conclusion, knowing how to ship to Amazon correctly ensures a smooth selling experience. Nailing down an Amazon FBA shipping plan can simplify and streamline your business in ways often taken for granted. While not many (okay, nobody) get into selling on Amazon because of a passion for shipping preparation, it’s a fundamental and foundational part of selling. With great attention to detail, preparation, and execution, shipping to Amazon can be a relatively quick and painless task.
If you overlook the details or take steps for granted, it can become an extremely messy, headache-inducing situation. When a step isn’t completed with care and intentionality, it requires much diligence and communication to get things back on track.
Remember to follow the steps in our guide to avoid these complications and enjoy a smooth shipping experience.
- Step 1: Understand Amazon FBA Requirements
- Step 2: Know Packaging Guidelines
- Step 3: Create Labels
- Step 4: Set Up A Shipping Plan
- Step 5: Prepare Inventory
- Step 6: Finalize Shipment Details
- Step 7: Track Shipments & Communicate Accordingly
As always, we at Viral Launch are here to help! Be sure to keep an eye on Market Intelligence to know when busier or slower sales can be expected in the future to stock up with a healthy amount of inventory for top-shelf efficiency. And lastly, utilize our Expert FBA Reimbursement Services to keep your finger on the pulse of inventory tracking and management. With an industry-low commission rate, we’re fully focused on helping you beef up your bottom line and ensure a smooth selling experience from start to finish.


